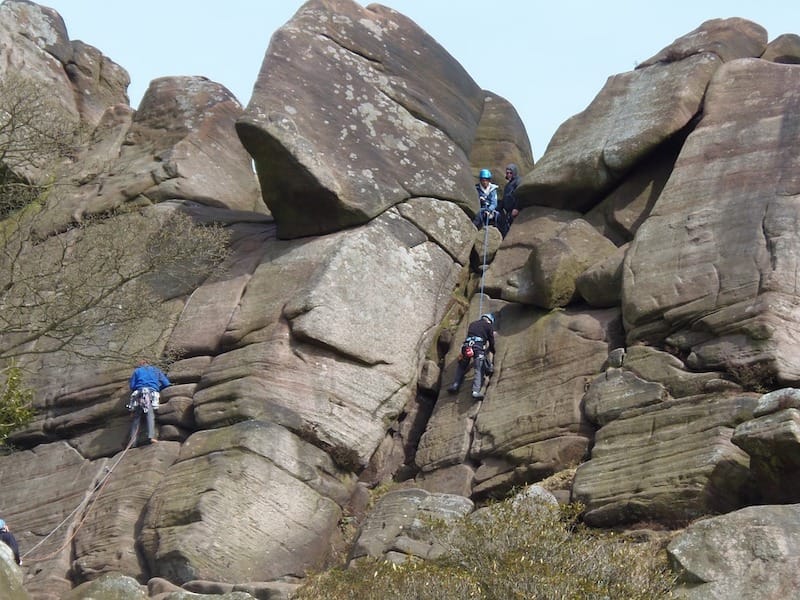
When we think about rock climbing, our minds wander to remote locations and beautiful landscapes, picturing strong men and women gracefully ascending rocks.
As all climbers know, however, there is something missing in this beautiful image: the belayers!
We must admit it: without a belayer, there can be no climbing.
If you want to hang out on a rock face, or even just a climbing gym wall, you need a partner who performs the most important role on the ground: keeping you safe. And, in turn, you will have to learn how to catch your partner’s falls while he/she is climbing.
Belaying, or handling and holding the rope to catch the climber’s falls, is the ultimate trust deal. You literally place your life in your partner’s hands, and they in yours.
So, knowing how to belay safely and securely is possibly the most important aspect of rock climbing.
In this article we will cover the basic rules of how to belay in many contexts, both outdoors and indoors. We will also give you some extra tips for becoming the best belayer you can be.
You will not only learn to be safe, but also to make your partner’s climbing (and falling!) as comfortable and seamless as possible.
You can use this article as a reminder or to get some extra info and tips but, of course, this can be in no way a replacement for hands on experience!
Before you start climbing and belaying, you and your partner must take a course at your local climbing gym or with a certified guide, and make sure you understand and are able to apply all the techniques in practice.
Hey! By the way… this page contains affiliate links. So if you make a purchase after clicking one at no cost to you we may earn a small commission. Thanks for your support!
Getting Ready for Belaying
There exists various types and techniques for belaying, depending on the style of climbing, belay device and setting.
For now, though, let’s start by looking at the general steps you should follow to get ready for belaying. These are all carried out with both you and your partner on the ground once you decide which route you will jump on.
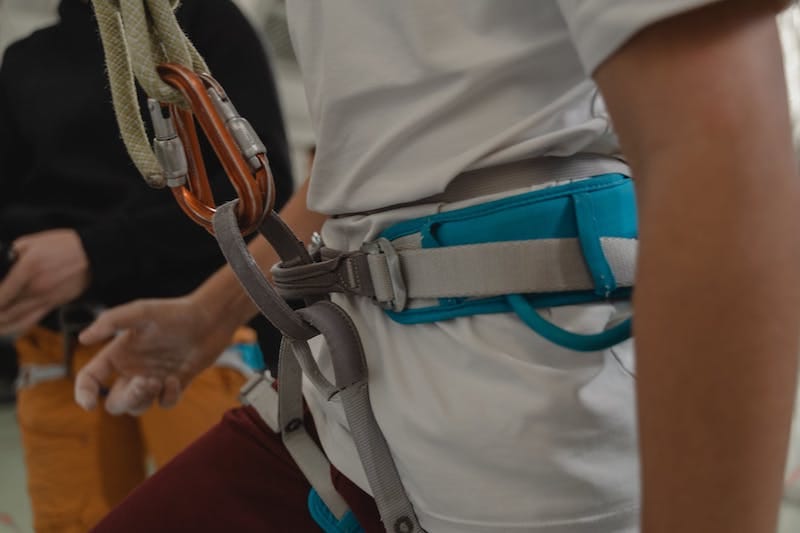
Putting on the Harness
First of all, you and your partner will need to put your harnesses on. Remember to double check the belt is not upside down, that there are no twists in the legs and to close all the buckles properly.
A harness should be worn above the hips, and it should be fairly snug on the waist (loose enough so that you can comfortably move, of course), with the legs straps a bit looser on your thighs, so as to give you more range of movement.
Preparing the Rope
If you are lead climbing, make sure you or your partner have flaked the rope (passed through your hands to make sure it has no knots and twists and arrange it for easy use) before tying in and setting up your belay device. Any knotting, twisting or kinking in the rope will make belaying a whole lot harder!
By doing this, you are also checking that the rope is not damaged and is safe to use.
Once the rope is ready, your partner can tie in with a figure of 8 knot and get ready to climb while you close the system.
Closing the system means tying a stopper knot to the other end of the rope, so that it will never pass through the belay device, which could cause the climber to fall to the ground if the rope is not long enough.
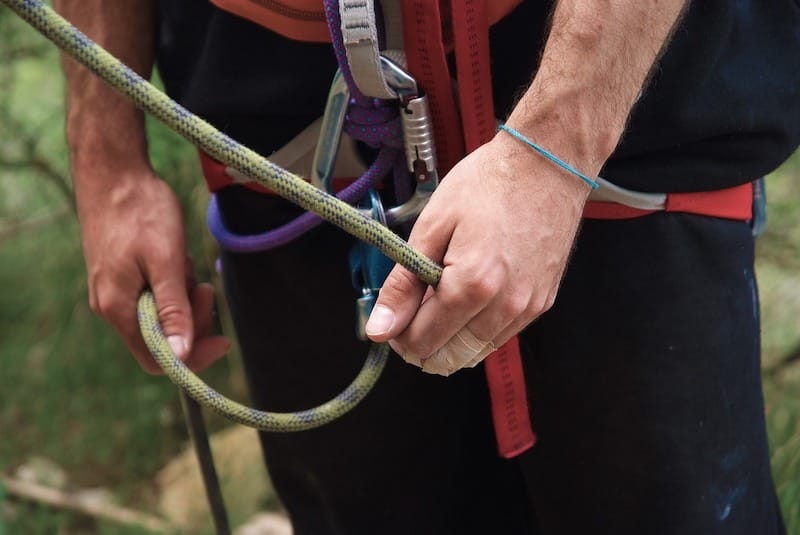
Setting up a Belay Device for Belaying
The belay device is a tool climbers use to manage rope slack/tension, catch a fall and lower their climbing partner.
As you might know, there are many different types of belay devices and each one of them will have specific instructions that you must learn and practice before using it.
Regardless of your belay device, these rules are always true:
- First of all, make sure your device is compatible with the diameter of your climbing rope: not all belay devices work on every rope.
- Set up your belay device by putting the rope in it following the instructions. Many devices have drawings to indicate how to place the rope. One side goes to the climber, the other side goes to your breaking hand.
- Attach a locking carabiner by passing it through the rope bight and belay-device cable (in tubular devices) or through the respective hole and connect it to your harness’ belay loop. Oh, and of course, ALWAYS lock the carabiner!
Final Check Before Climbing
Once your partner has tied in and you have set up your belay device correctly, a last step you cannot forget is to run a cross check. This is essential for climbing and belaying safely, and you must make a habit of it at all times before you or your partner set off for a climb.
Remember to always double check each other’s:
- Knots
Check both the figure of 8, if it is properly done and threaded through the right loops, and make sure you tied a stopper knot. - Buckles
Are your harnesses snug and are the buckles doubled up? - Belay device
We all make mistakes. Make sure your partner checks the setup of your belay device and that the locking carabiner is actually locked. - Gear
Make sure the climber has all the gear they will need on the climb, whatever that might be: quickdraws, rappelling device, trad gear, daisy-chain etc.
How to Belay with Climbing Commands
Another aspect you need to make sure is clear before you or your partner leave the ground are climbing commands. Climbing commands are used to communicate clearly and efficiently during the climb and avoid any kind of misunderstanding.
These are the basic climbing commands, although they may vary in different countries. The important thing is that you and your partner are on the same page.
- Climber: On belay? (Can I climb?)
Belayer: Belay on. (Yes, I am belaying you. You can climb.) - Climber: Climbing. (I’m setting off.)
Belayyer: Climb on! (Sure, I am with you.) - Climber: Slack! (I need more rope)
Belayer: (Give out some rope and see if the climber asks for more.) - Climber: Up rope. (Pull in some slack.)
Belayer: (Pull in rope and see if the climber asks again.) - Climber: “Tension.” (I need to rest on the rope.)***
Belayer: (Take in all slack and hold tight.) - Climber: “Ready to lower.”
Belayer: (Reposition to brake.) “Lowering.” - Climber: “Off belay.” (I’m secure, do not need belay anymore.)
Belayer: “Belay off.” (I’ve removed the rope from the belay device.)
Remember, be loud and try to start every command with your partner’s name, so that if you are climbing around other people you don’t get confused as to who’s saying what. Voices can become difficult to recognize at a busy crag or gym!
Other useful commands are:
- Rock!
This is used by the climber (and the belayer if they’re belaying from above) whenever something gets loose. It can be a real rock or a draw, it doesn’t matter, what you do is try to get out of the way and look down, not up, so that your helmet can protect your head. - Watch me!
This might be used when you think you might be falling on a hard section so that the belayer has their full attention on you. - Falling!
Well, this means exactly that, you’re falling and you want your belayer to catch you!
***Many climbers will say “take!” instead of “tensions”, but some do not like it as it might get mixed up with “slack!”… And you really do not want that!
How to Belay
After you are all geared up, you have double checked your partner’s harness, gear and knot, and you’ve made sure you’ll understand each other’s command, you’re ready to start!
Let’s look at some universal belay principle to always follow.
Technique
- Belaying will always be susceptible to human error, so make sure you’re focussed and you are giving 100% of your attention to the climber. You can chat about your plans to go on a climbing trip to Spain in between climbs.
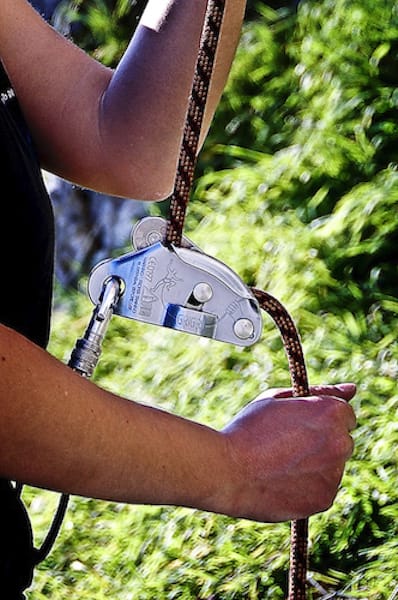
- Always keep your break hand on the rope. And by always we mean ALWAYS. And yes, with assisted devices too (GRI GRI included!).
- When you are feeding rope out or taking it in, the guide hand handles the rope on the climber side, and the brake hand holds the rope down on the other side.
- When you’re not in the exact moment of giving out or taking in slack, always keep your hand in the breaking position.
Proper Stance
- Keep your knees slightly bent, one foot forward and one slightly back, and be relaxed but ready.
- Don’t stay too far from the wall, but do not stay right under the climber’s route either.
- Make sure you are on safe ground and, if you aren’t, consider tying in to a ground anchor.
- Place your rope and gear so that it won’t get tangled up while belaying.
Proper Hand Position
- The break hand should never be too close to the belay device, as your skin might get caught in it with the rope. Also, your thumb and forefinger should be pointing upwards, not downwards.
- Place the guide hand on the rope on the climber’s side of the device and pull the rope as needed.
Lowering the Climber
- Remember to always use two hands to handle the rope when lowering a climber.
- Lower your partner slowly and try to maintain a steady pace.
- Slow down close to the ground so that your partner can find their footing and, once they are on the ground, give out some slack so that they can find their balance and take off the knot easily.
Different types of Belaying
Of course, the way you belay does not only depend on the belay device, but also on the style of climbing. Here are some tips and general aspects to remember when belaying with a top rope, belaying a lead climber, and multi-pitch belaying.
Top Rope
When you’re belaying a top rope climber, you will mostly be taking in slack as the person climbs. To do this, you use what we call the PBUS method (Pull, Break, Under, Slide):
- Pull: Pull the rope downward with your guide hand while lifting the brake rope out and up forming a V shape that starts in your belay device.
- Brake: Once you’ve taken in slack, quickly flip the brake rope back down to lock the device.
- Under: Move the top hand to the brake rope and place it lower than the break hand, gripping the rope.
- Slide: Loosen the grip with your break hand and slide it up. Grip the rope again and remove the guide hand, which will go back to the top part of the rope to pull down some more slack.
Of course, you must always be prepared to catch a fall. If you watch your partner closely, you will probably know if they’re about to fall. When it happens, hold the rope firmly with the breaking hand and sit back, your weight will counterbalance theirs.
Lead Belaying
Lead belaying might be a little more complicated.
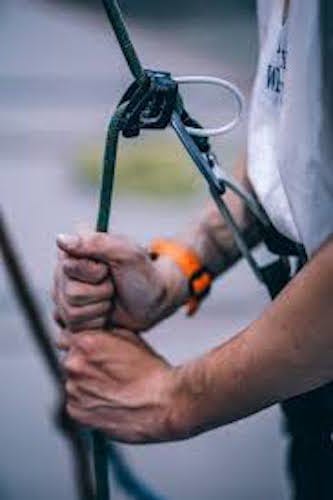
First of all, when belaying a lead climber, you will need to spot him or her until the first piece of protection is placed, as if it was a boulder problem.
After that, you may leave a slight loop in the rope so that the climber does not feel the tension of the rope, and can move freely. When they want to clip, give out enough slack so that they can do it quickly and do not end up pulling on the device, making it lock.
Once they clip, take in any excess slack.
Try to be extremely careful during clipping, the large amount of slack may result in a longer fall if they blow the clip.
If you are both beginner climbers, check how they put the draws in the bolts and how they clip the rope in, and let them know if they’re doing something dangerous.
Also, with lead climbing it is a good exercise to try to mentally calculate falls to make sure the climber will not fall badly. If your partner is climbing right above a ledge, for example, try to leave as little slack as possible so that they wouldn’t hit it in case of a fall. On the other hand, if he or she climbed over a bulge on the rock or a roof, give them more slack so that, in case of a fall, they will not hit it but end up falling lower. It might be a bigger fall, but it is safer!
Multi-pitch Belaying
On a multi-pitch climb, you will climb the first pitch, then tie into the anchor safely, and ask your partner to take you off belay. Then you will belay him or her from the top. You can do this from your harness, or from the middle point of the anchor, depending on the device you are using.
The principle is the same. Make sure the device is properly threaded and locked, let your partner know they are on belay, and start taking in slack!
The climber will be on toprope.
When starting a new pitch, make sure you place a draw in the top point of the anchor and that the leader clips the rope into it as first protection. This is because, if the climber happens to fall before the first bolt, he/she would not fall directly on the belay device, which could not withstand the force and break.
Belaying in the Gym
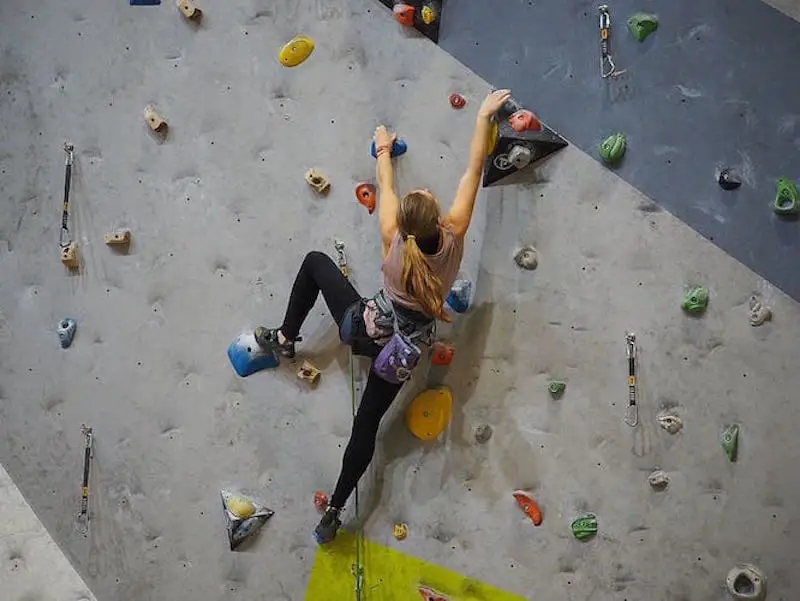
Possibly, the best way to practice belaying is in the gym. The terrain is safe, the gear well placed and routinely checked and there are always instructors around who can help out if you forget something or are unsure.
Every gym requires a belay test. This is very easy to pass if you know the basics… And, well, if you don’t, make sure you take a belay course before trying!
Also, if you do pass the belay test, do not think it ends there. You can always get better at belaying, and, most of all, you should never take safety and security for granted. Accidents happen all the time, even in gyms, so stay focussed and always double check your partner!
Belay Devices
There are many different options for devices to use while belaying. 100s, actually… so for this reason we’ve put together this article on the best belay devices to help point you in the right direction.
Belay Glasses
Though not necessary when just getting started, many of the best belayers use belay glasses to keep your neck from hurting and to watch your partner at all times. We’ve also put together an excellent resource on the best belay glasses out there to save you time and money!
Final tips and Tricks to Become the Best Belayer
I hope this complete guide on how to belay has helped you clear up any doubts and will allow you to get out and climb safely with your friends. To finish up, here are some more advanced tips you can work to optimize your belaying skills:
- For better friction, and if your hands hurt, get a pair of belay gloves. They come in many different styles and they have different functions, but they will surely be an investment you won’t regret!
- Learn to give “dynamic belay”, this may involve walking close and farther from the wall, and even jumping or kneeling!
- Learn to read your partner’s moves and foresee his needs.
- If you are planning to climb a route in which you will not be able to see or hear each other, make up some climbing commands using “rope tugs”. For example, on a multipitch climb, 4 strong tugs could mean “Off belay”.
- Watch more experienced climbers belay, and learn from the best.
- Practice, practice, practice… and be safe!
