If you’re still new to the massive world of climbing, I can only imagine how intimidating things can be. With the endless myriad of available climbing styles, many beginners find it hard to choose an option that would fit their skills and preferences.
Unfortunately, I can’t really unravel all of the climbing mysteries in one article. I can, however, do it one step at a time. Today, we’ll take a look at one of the oldest climbing techniques — aid climbing.
In this guide you will find:
- What Is Aid Climbing?
- Aid Climbing Gear: A Detailed Buying Guide
- History of Aid Climbing: Fixed Aid Climbing vs. Clean Aid Climbing
- Aid Climbing vs. Free Climbing
- Aid Climbing Grades
Hey! By the way… this page contains affiliate links. So if you make a purchase after clicking one at no cost to you we may earn a small commission. Thanks for your support!
What Is Aid Climbing?
To better understand aid climbing, we should take a quick look at the brief history of climbing.
Alpinism or Mountaineering
When humans took a liking to mountain climbing, they were initially focused on reaching the most challenging summit. To that end, you had to conquer walls, glaciers, ridges, and all sorts of obstacles. All of this didn’t really matter for the public, though. If you couldn’t reach the summit, you had no place inside the hall of fame!
With time, that goal became somewhat outdated. After conquering hard mountains like Annapurna, K2, Kangchenjunga, and Nanga Parbat, people wanted new challenges to take pride in.
That’s when we ditched the summit to focus on the climbing process. This gave birth to two main climbing approaches: free and aid climbing.
Aid Climbing
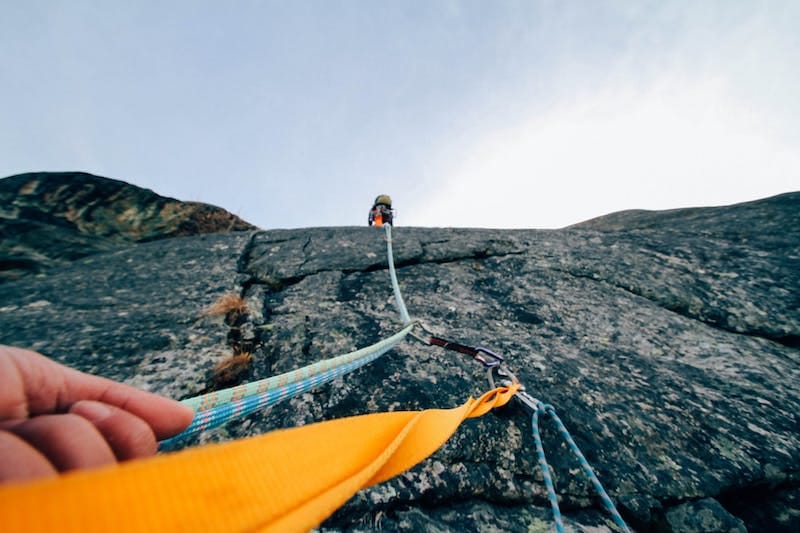
As the name implies, aid climbers utilize all sorts of climbing gear to help ascend a rock face.
The process starts with proper planning. You must roughly map the climbing route based on the surface cracks.
To begin climbing, you have to place wedges, hooks, pitons, cams, or similar fixed pieces inside the planned cracks. With those pieces in place, you can hook your “aiders”, which are simple ladders made of webbing loops.
After making sure that the aider is fully secure, you can use it to lift up yourself so that you can place a new fixed piece at a higher point. This process goes on and on until you finish the planned pitch.
The Pros and Cons of Aid Climbing
Let’s be honest, packing a myriad of hefty climbing gear is not only tiring but also boring. After all, most people practice climbing to enjoy the unrivaled adrenaline rush of not knowing what comes next. Plus, the process of securing fixed pieces into the mountain cracks consumes too much time.
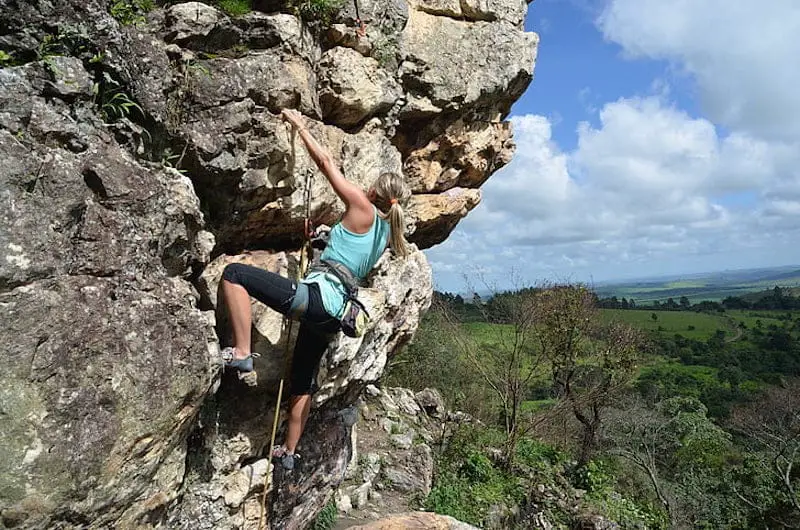
This is why most climbers prefer to free climb by using their arms and legs for support and upward progress.
However, aid climbing can sometimes be your only option. If you’re standing before a steep wall that doesn’t have enough handholds or footholds, it’ll be pretty much impossible to climb without gear.
Aid Climbing Gear: A Detailed Buying Guide
Now that we’ve established the basics, we can get to the real action. Let’s see the gear you should purchase in order to aid climb any pitch.
1. Aiders
As I said earlier, the aider is a webbing ladder that you’ll use to ascend a pitch. You’ll need to get at least two aiders, as you’ll be standing on the first while trying to attach the second at a higher point.
When shopping for an aider, you’ll find two designs: conventional ladders and etriers.
Ladder Aiders

![]()
Just like a typical ladder, these aiders feature a series of fabric loops fixed on both sides by support pillars. My most favorite option on the market is the Yates Big Wall 6-Step Aider.
As you can see, the Yates aider is reinforced with a plastic tube at the uppermost part. This ingenious add-on is called a “spreader bar”. And just as the name implies, this bar keeps the fabric loops “spread” at all times, ensuring that you don’t have to reach down with your hands to make way for your feet.
It’s important to note that some models come without a spreader bar. The Metolius 8-step ladder is probably the most popular example. Due to the added stress of spreading the loops yourself, I’d never recommend such a model for novices.
Etriers

Although ladder aiders are super easy to use, they can be quite heavy. This will be a huge disadvantage if you’re climbing a multi-pitch route — you want much lighter equipment to save your energy. That’s where etriers come in handy.
French for a stirrup, etriers have one support pillar in the center. The climbing loops are placed at the sides, mimicking the shape of stacked triangles.
Unlike ladder aiders, these models don’t need a spreader bar because their design is inherently resistant to folding. However, because the loops are crooked, etriers won’t be very comfortable if you take a long time to attach your fixed pieces into the wall cracks.
Interested in the etrier design? The Black Diamond Etrier is an ideal option.
Single-Step Aiders

![]()
If you want to go as minimal as possible, take a look at the PETZL Quickstep Etrier. By using its double-back buckle, you can quickly jug up a rope without compromising safety. But as you might’ve deduced, it’ll consume too much time if you use it as your main etrier.
2. Daisy Chains

![]()
What happens if you accidentally slip off the aider? If you have no safety anchor that connects you to the fixed pieces, you’ll be exposing yourself to major injuries. That’s where daisy chains come in handy.
Because these chains have multiple loops, you can easily clip them at the most convenient level. I like the Black Diamond Daisy Chain because it only weighs 2 ounces, making it extremely easy to handle in tough situations.
It’s also crucial to have a daisy chain connected to each aider so that if the aider falls off, you can easily retrieve it.
3. Adjustable Daisies

![]()
If you ever need to hang from two different points, regular daisy chains would work, but they might be too hard to handle. If you use an adjustable model, such as the Metolius Easy, you can fine-tune your position by pulling on the adjustable straps.
4. Fifi Hook

![]()
The fifi hook is nothing but a simple version of a carabiner. Because it features a question-mark shape, you can easily hook it on and off a daisy chain. But of course, you should never use it as a primary safety tool; it’s just a secondary tool that maintains your small progress until you’re ready to clip to a new fixed piece.
5. Piton (Optional)

![]()
Pitons are steel wedges that you can hammer into a wall to serve as a fixed piece. They were the official protective tool for early mountaineers. However, some people still use them today.
The worst thing about pitons is the fact that you can’t retrieve them from the wall as you ascend. As a result, you’ll have to pack a considerable amount of pitons to cover large pitches. To mitigate this issue, people now use more convenient devices that can be readily removed, like cams.

![]()
![]()
I would still pack a couple of pitons for any pitch. Sometimes, you won’t find a space to insert your cams, meaning that a piton could be your only option.
6. Climbing Helmet

![]()
Naturally, your helmet must be well-fitted over your head to dampen any accidental fall. At the same time, they must be comfortable enough so that you can wear them for long pitches without having to take frequent breaks.
It’s pretty hard to pick the ultimate helmet from the hundreds of available products. However, Petzl Boreo is one of my favorite options. Even though it’s quite affordable, it offers excellent durability and protection, thanks to its thick ABS build.
7. Climbing Harness

![]()
The climbing harness wraps around your waist and legs to secure you to the fixed pieces.
All brands must design their harnesses according to the highest safety standards. However, not all brands care about comfort.
I like the Black Diamond Solution because it features a generously padded build that doesn’t dig too much into your body. It’s also a bit wider than the average, which makes for more solid support.
8. Rope
Climbing ropes come in different designs, lengths, features, and safety ratings. It’s extremely important to educate yourself in this regard to ensure that you’re using the safest gear that also guarantees satisfactory performance.
9. Shoes
Unlike your typical running pair, climbing shoes feature special designs that facilitate climbing tough pitches. Just like the ropes, familiarizing yourself with all the available options is crucial to ensure success.
History of Aid Climbing: Fixed Aid Climbing vs. Clean Aid Climbing
Aid climbing traces back to the 1900s, when people were starting to explore mountaineering for the very first time. Pitons were the only fixed pieces available, though – and because they couldn’t be removed, climbers had to pack an unwieldy amount of pitons to ascend large pitches.
Yvon Chouinard, the founder of Black Diamond, changed this experience for good by introducing the ingenious cams and nuts.

![]()
Not only are these tools lighter than the old pitons, but they also leave no permanent marks on the wall you’re climbing – allowing other people to enjoy the original, untampered routes. Such is why aid climbing using mostly cams and nuts is known as clean aid climbing.
Aid Climbing vs. Free Climbing
;In free climbing, you’re allowed to use nothing but your physical strength to ascend a wall. You still use ropes, but only to catch you if you accidentally slip. On the other hand, aid climbing allows the use of any gear to pull yourself upwards.
Aid Climbing Grades
To facilitate the aid climbing process, professionals have agreed upon a universal grading system that succinctly describes the route difficulty.
The aid climbing grading system consists of a letter and a digit. The digits represent the difficulty degree. Letter A describes routes that require pitons, while C denotes the opposite.
- A0/C0: Also known as French-free climbing, these routes require the least amount of gear. You can ascend them by stepping on or pulling pitons or other fixed pieces.
- A1/C1: Easy routes that have a low risk of gear detachment.
- A2/C2: Moderate routes in which the gear might detach, but the falls will be fairly safe.
- A3/C3: Hard routes. Placing your pieces will be challenging, and the falling risk is quite alarming.
- A4/C4: Complex, time-consuming routes. The falls are extremely dangerous.
- A5/C5: Routes that can’t protect the climber against any fall. Therefore, any falls will be fatal.
If a route’s difficulty rests between two ratings, some people like to modify either rating with a (+) or (–). For example, an A1+ route is generally easy, but it could have a couple of harder sections that push it to the upper limit of being an A1 (but not enough to be an A2-).
Final Thoughts
Although not as fast of an adrenaline rush as its free climbing alternative, aid climbing is a useful step for beginner trad climbers. Not only will it build up your strength and endurance, but it will also improve your climbing mentality and risk assessment capabilities. Consider learning aid climbing to prepare yourself to free climb some jaw-dropping routes.
Stay safe out there!
For further reading see: “Best Rock Climbing Rope Bag: A Comprehensive Guide [New]” and “Lead Climbing 101: How To Lead Climb Like a Pro [Fast]”
Editorial staff for The Wandering Climber. An expert roundup of climbing nerds from across the world!